A clean and clutter-free kitchen counter can transform your cooking space, making meal prep easier and your kitchen more inviting. However, kitchen counters often accumulate appliances, utensils, mail, and other items that crowd the space. The good news is that with intentional organization and thoughtful habits, you can maintain clear kitchen counters all the time. Here’s a step-by-step guide on how to achieve and sustain clutter-free kitchen counters.
Why Clear Kitchen Counters Matter
Before diving into solutions, it helps to understand the benefits of clutter-free counters:
– Improved Efficiency: More workspace means easier meal preparation.
– Easier Cleaning: Fewer items make wiping down surfaces faster.
– Better Appearance: A tidy kitchen feels welcoming and relaxing.
– Reduced Stress: Clear spaces can promote a calm, organized mind.
Step 1: Assess and Remove Excess Items
Start by clearing off your counters completely. Take everything off and sort through the items:
– Group similar items together (small appliances, utensils, decor).
– Decide what you use daily, weekly, or rarely.
– Consider donating, recycling, or relocating items you rarely use.
Step 2: Create Designated Zones
Organize your kitchen counters by zones to keep them purposeful:
– Preparation Zone: Near the stove or sink with cutting boards, knives, and frequently used utensils.
– Coffee or Beverage Station: If you enjoy coffee or tea, keep the machine and supplies here.
– Baking Area: For those who bake often, designate a corner for mixers and measuring tools.
– Landing Zone: Near the kitchen entrance for keys, mail, or grocery bags—though this can also be kept off counters with a small organizer.
Step 3: Store Appliances Thoughtfully
Small appliances often take up a lot of counter space. Try these tips:
– Keep only daily-use appliances on the counters.
– Store seasonal or rarely used appliances in cabinets or pantry shelves.
– Consider appliance garages or pull-out shelves to hide appliances but keep them accessible.
Step 4: Use Vertical Storage Solutions
Maximize space by going vertical:
– Install wall-mounted racks or magnetic strips for knives and utensils.
– Use floating shelves or hanging baskets for spices, mugs, or frequently used items.
– Hooks under cabinets can hold mugs or small tools.
Step 5: Smart Containers and Organizers
Containers and organizers can keep items neat and accessible:
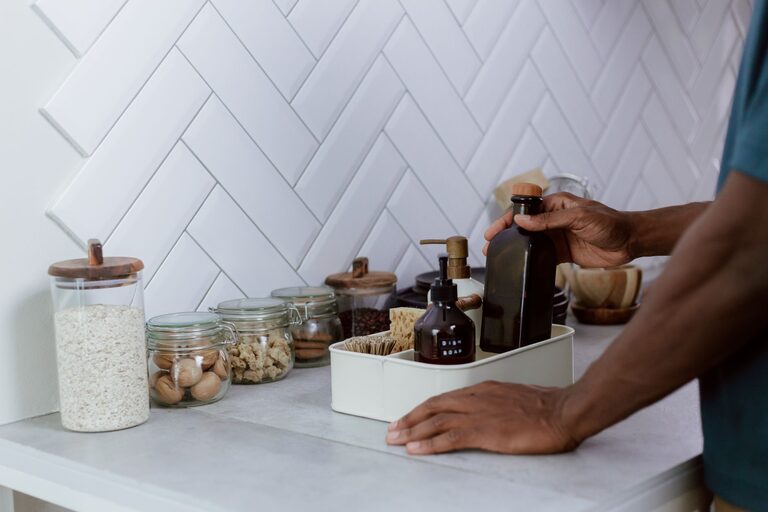
– Use clear jars for frequently used dry goods such as sugar, flour, or coffee.
– Tray organizers corral oils, vinegars, and salt/pepper shakers.
– Drawer dividers reduce clutter inside drawers, freeing counter space.
Step 6: Develop Daily Habits
Maintaining clutter-free counters requires consistent habits:
– Always put items back in their designated spots after use.
– Wipe down counters at the end of meal prep.
– Sort mail and discard junk immediately instead of placing it on counters.
– Limit the number of decorative items—choose a few meaningful pieces.
Step 7: Customize for Your Lifestyle
Every kitchen is unique. Tailor your organization to fit your needs:
– If you have kids, designate a snack or lunch prep area.
– If you entertain often, keep serving trays and utensils handy but stored neatly.
– Make use of open shelving if you love displaying beautiful dishware, but keep it clutter-free.
Bonus Tips: Declutter Kitchen Counters Quickly
For a fast decluttering session:
– Set a timer for 10 minutes and clear as much as possible.
– Use baskets or bins to temporarily hold items out of place.
– Schedule a weekly quick tidy to prevent buildup.
—
Keeping kitchen counters clutter-free promotes a more functional and pleasant kitchen environment. With these practical tips and a bit of routine, you can enjoy clear, organized counters every day. Start small, be consistent, and watch your kitchen transform into a more enjoyable heart of your home.
About the Author